Saturday, March 28, 2015

midnight happenings breakfast cookies

cookie, chocolate and....cereal?
Sometimes baking at midnight can lead to magical, confusing things. Like these cookies. These cookies are basically the screw-everything, no-holds-barred products of our 1AM shenanigans.

Rule #1: Don't judge a cookie by its lumps and neon green deformities.
It's been a stressful few past weeks - so I figured I could take my mind off of midterms and summer planning by baking something. My friend Joy mentioned chocolate chip cookies; Judy suggested oatmeal cookies. As wonderful as chocolate chip and oatmeal cookies are, tonight was all about eschewing the rules and breaking out of the box. So into the cookie batter went the closest items to us that weren't oyster sauce, vinegar or sriracha. Those turned out to be corn flakes and cap'n crunch.


I was legitimately afraid that we had created a monster. But they turned out soft and chocolatey with a different texture in every bite. One of the standout textures and flavors was actually the corn flakes; I did add a full cup, after all. So if you're ever in the mood for fun, I suggest taking a cookie base and throwing in various toppings, from chocolate and leftover cereal to marshmallows and pretzels. And maybe, just maybe even the sriracha. Because, why not?

midnight breakfast cookies
1/2 cup butter, melted (I used margarine)
1/2 cup white granulated sugar
2 eggs
1/2 tsp vanilla
1/2 tsp baking soda
1/4 tsp salt
1 cup + 3 Tbs all-purpose flour
1/4 cup oatmeal
3/4 cup dark chocolate chips
1 cup Corn flakes
1/3 cup Cap'n crunch cereal
everything else and the kitchen sink

Yields ~16 small-medium cookies

1. Combine butter, sugar, eggs and vanilla.
2. Add the baking soda, salt and flour.
3. Fold in the oatmeal, chocolate chips.
4. Finally, fold in the cereal last, so that it retains as much crunch as possible.
5. Place generous tablespoons of cookie dough onto a greased baking sheet. Bake at 350 for 10-12 minutes. Let cool for 10 minutes. Enjoy your breakfast, in a cookie, at midnight!

Sunday, March 22, 2015

pumpkin apple pie (yes, two pies in one!)

Who says you can't have pumpkin pie and apple pie, at the same time, in March?

If you ever have trouble deciding between apple or pumpkin, why not have both in one slice? It looks like pumpkin pie from the top, until you cut into it, and...sur-pies! Harharhar. I think midterms stress is making my jokes lamer than usual.

Maybe I'm having some post-Pi Day depression, but I was really in the mood for some good pie this weekend. As delicious as flaky crusts can be, they don't have the same spicy-ness and gritty texture that compliments soft fillings, like pumpkin, so well. This gingersnap and graham cracker crust gives the pie that spicy oomph. The pumpkin filling is soft and the apple filling is gooey. Put that all together and you get a pretty awesome, multi-textured, delicious mess. So worth it.

dat crust-to-filling ratio, though
it's a pie-brid, a hybrid of pies.
pumpkin apple pie [dairy free]
gingersnap graham crust
7 (approx. 56g) gingersnap cookies
2/3 cup graham cracker crumbs
1 Tbs white granulated sugar
3 Tbs coconut oil
1/4 tsp cinnamon

pumpkin pie filling
1/2 can (approx. 1 cup) pumpkin puree
1/2 can (approx. 1 cup) unsweetened coconut milk
2 Tbs white granulated sugar
1 egg, beaten well
1/2 tsp cinnamon
1/4 tsp nutmeg
1/4 tsp ginger

apple pie filling
1/3 cup brown granulated sugar, packed
1/3 cup water
1/2 tsp cinnamon
2 small apples, peeled & sliced thinly (I used gala)
1 Tbs corn starch
1 Tbs coconut oil

For the crust
1. Crush gingersnap cookies and graham cracker crumbs either by hand or in a food processor. Mix in sugar, cinnamon and coconut oil until the texture is still crumbly, but moist enough to come together.
For the apple pie filling
1. Over a stove on med-low heat, heat sugar, cinnamon and water until the sugar dissolves completely.
2. Add in the coconut oil, corn starch and peeled/sliced apples. Stir in well.
3. Turn the stove to med-heat and let the mixture heat up and come to a rolling boil. Then, turn down the heat and continue stirring for a few minutes. The apple mixture should be thickened, clear and glossy in appearance.  Turn off the heat, and let it cool for 5-10 minutes.
For the pumpkin pie filling
1. In a bowl, mix the pumpkin puree, coconut milk, sugar and cinnamon/ginger/nutmeg until smooth.
2. Beat an egg well before mixing it into the pumpkin mixture.
To assemble the pie
1. Pour the crumb crust into a pan (I used a loaf pan). Using your hands or a utensil, push the crumbs into the bottom until they are packed and dense enough to form a crust.
2. Pour in the apple pie filling, and spread it evenly over the crust.
3. Pour the pumpkin filling over the apple pie filling. Depending on the size and shape of your pan, some of the apples might show through the pumpkin, but it's not a big deal.
4. Bake at 350 for 45-50 minutes. You'll see the apple pie filling bubbling through the pumpkin.
5. Let it cool! Serve as is, with coconut whipped cream or a generous dollop of ice cream :)
*If you use coconut oil in this recipe like I did, don't recommend refrigerating this before serving or else the coconut oil solidifies too much.

If Fall was a pie, it'd be this pumpkin apple pie.

Wednesday, March 18, 2015

triple chocolate pancakes*

*not for the faint of heart

This recipe is about taking risks. Being bold. Jumping the gun. Not holding back. This recipe is about taking chocolate, adding chocolate to it and then drizzling more chocolate on top. It's about satisfying a chocolate craving to the point that you never want to eat chocolate again for the rest of...nah, everyone knows that the laws of nature dictates that there's no such thing as too much chocolate!

mwahahaha. I clearly have too much time on my hands if I am making a chocolate gif.
This recipe can be summed up in one simple equation:

chocolate pancakes + chocolate chips + chocolate sauce = triple chocolate pancakes

Yes, we are reaching seriously dangerous levels of chocolate here. Yes, it's gonna be awesome.

double chocolate pancakes [dairy free]
why do food bloggers cut their pancakes like this?
1 cup all-purpose flour
3 tbs cocoa
2 tsp baking powder
3 tbs brown sugar
1/4 tsp coffee powder
1/4 tsp salt
1 tsp vanilla
1 cup milk (I used cashew)
1 egg
1/4 cup applesauce
1/2 tsp cinnamon
1/2 cup semisweet or dark chocolate chips

chocolate sauce
4 Tbs milk (I used cashew)
1/8 tsp cinnamon
1 Tbs brown sugar
2 Tbs semisweet chocolate, melted

To make the pancakes
1. In a bowl, combine dry ingredients.
2. In a separate bowl, combine wet ingredients.
3. Fold together the wet and dry ingredients until everything is moistened.
4. Heat a greased pan on medium heat.
5. When the pan is hot, add 1/4 cup of pancake batter to the center. Throw on additional chocolate chips because why not. When bubbles begin forming on the surface of the pancake, flip the pancake.
Cook for about 30s-1 minute. (lift the edge with a spatula to make sure it's done)
6. Repeat with the remaining batter.
To make the sauce
1, Melt the chocolate with the milk in the microwave.
2. Add cinnamon and brown sugar. Mix well.
3. The sauce should be relatively runny - but will set over time.
4. Pour over pancakes and let the food porn ensue!

Let's be real. Who wouldn't want to wake up to this?

Saturday, March 14, 2015

happy pi day π π π π π

(source)
 "Pi is special." University of California Berkeley mathematician and author Edward Frenkel (source) 
Pi day is finally upon us. 3/14/15 at 9:26:53AM/PM (3.141592653) is the closest numerical date/time to Pi we will get to live through in our lifetimes. More important, it's an excuse to consume copious amounts of pie and make excessive pi/pie-related puns. #noshame

(source)
Why are we so amused by this coincidental alignment of numbers?
Because it gives us an excuse to eat pie.

The cake is a pie. (source)
Do we ever really need an excuse to eat pie?
No, not really.

(source)
Is this the geekiest day ever?
Maybe?

(source)
Is it ridiculously mindblowing that 3.14 reversed spells PIE?
Yes!

For more pi/pie-related giggles, check out this amazing Buzzfeed.

Wednesday, March 11, 2015

Chocolate Tour: Taza Chocolate Factory


Located in a somewhat obscure side street in Somerville, MA - the magical birthplace of marshmallow fluff - is Taza Chocolate Factory Store, a decade-old passion project started by couple Alex Whitemore and Kathleen Fulton.

Taza's chocolate is unique because:
1. it's Mexican-style - grittier, darker, dairy free! 
2. it's made from "bean to bar" right in this factory, at a rate of tens of thousands per week
3. its cocoa is purchased directly from cacao producers to ensure quality and fair pricing. How awesome is that?

After scoring some Groupons (they're still available!), some friends and I hunkered into the city to check it out. With such a small store and factory, it can be quite easy to miss this place. Hence, holding factory tours is actually a super clever and fun way to draw in chocolate lovers to taste to their products and learn about Taza's mission.

Tour Highlights
We arrived at 10AM on a Saturday, and the few staff working there were super friendly, enthusiastic and seemed in love with their jobs. But then again, I would be too if I worked in a chocolate factory.

Cacao beans 
We learned the story behind Taza and each step of the way in their chocolate production process. We toured the factory rooms and saw the re-purposed machinery used to process the cocoa pods, grind up the solids and collect the butter and more. And along the way, we sampled different chocolates, and by the end of the tour, I had a chocolate baby in my belly. Yummm. Since it was the weekend, no one was there to work the machines, but apparently if you go on the weekday you can witness all the action.
(L) Piles and piles of completed chocolate bars! (R) Chocolate bars waiting to be wrapped. OMNOMNOM.
Overall the tour lasted around 45 minutes. We ended right where we began - at the storefront. A friend and I each ended up getting a bar of Cinnamon and Salted Almond chocolate. 

Magical shelves full of chocolate...
Hold up.
Come to mamaaaa.
At the end of the tour, they served the darkest, richest, best cup of hot chocolate I've ever had in my life.

This was my first food/factory tour, and I would describe it as "the most delicious learning experience, ever". It was eye-opening to understand the intricate, multi-day process of producing the best legal drug of the world, chocolate. If it's possible, I now have an even greater respect for chocolate makers. Except Hershey. Sorry, Hershey. Now excuse me while I go drown my midterm sorrows in a pile of dark chocolate. Nomz, I'm out.

Saturday, March 7, 2015

red bean jelly (2 ingredients!)


Happy (super) belated Chinese New Year. I actually made this on the holiday, but didn't bother  This is perhaps one of the easiest, simplest traditional eastern asian dessert recipes of all time.

I asked my father to scope out the local asian supermarket for red bean paste. I usually get them semi-mashed in cans, but this one came fully pureed in a plastic pouch. On top of not being in the most convenient container for a paste, the nutrition facts were a lie. They read "Sugar 0g", so I was ready to add about 1 cup of brown sugar. Thankfully, I tasted the paste, and after realizing how sweet it was, I re-read the nutrition facts and saw the first ingredient listed as "sugar". . How could they!

???
Before you gasp in horror at the photo below, I just want to clarify that it's not what you think it is. It's just red bean paste. Which apparently holds its shape really well when cold. It's like...brown...toothpaste...? I'll stop now.

Trying to squeeze red bean paste out of a plastic pouch...doesn't this look appetizing?
This was my first time working with gelatin. My first impression was that blooming gelatin smells like walking through a biology lab and being hit with the mucky, dank odors of yeast plates and LB broth. Yum. Just want I want in my food.


To make sure your jelly has set, you can be stupid like me and lift it over your head. Does something cold and slimy fall on your hair and face? No? Then, congrats! Your jelly is definitely jelly-ed.


Et voila - the magic of gelatin and 3 hours in the fridge.


red bean jelly
1 cup sweetened red bean paste
1 packet of gelatin
1/4 cup cold water
1/2 cup warmed water
Optional: 1/2 tsp of vanilla, pinch of salt, black sesame seeds for decoration

1. Add the red bean paste to a bowl.
2. In a separate bowl, pour out the gelatin packet.
3. Add 1/4 cup cold water and let it sit and "bloom" for a few minutes.
4. When it has gelled, stir in 1/2 cup warmed water and dissolve it.
5. Add the gelatin mixture to the red bean paste. Stir until well mixed.
6.  Pour into pan and let it sit for 2-3 hours, or until the jelly has set.

Wednesday, March 4, 2015

blueberry vanilla cake


        After weeks of reading doom and gloom forecasts and receiving "severe weather" emails from campus public safety, I am ready to hop on a plane and eschew my citizenship to live somewhere guaranteed to be warmer and sunnier. Despite being surrounded by snow and ice, lately I've been reminiscing about one of my favorite summertime activities: blueberry picking. During mid-late July, when the blueberries are big and ripe, me and my family members tend to pop these like m&m's.        
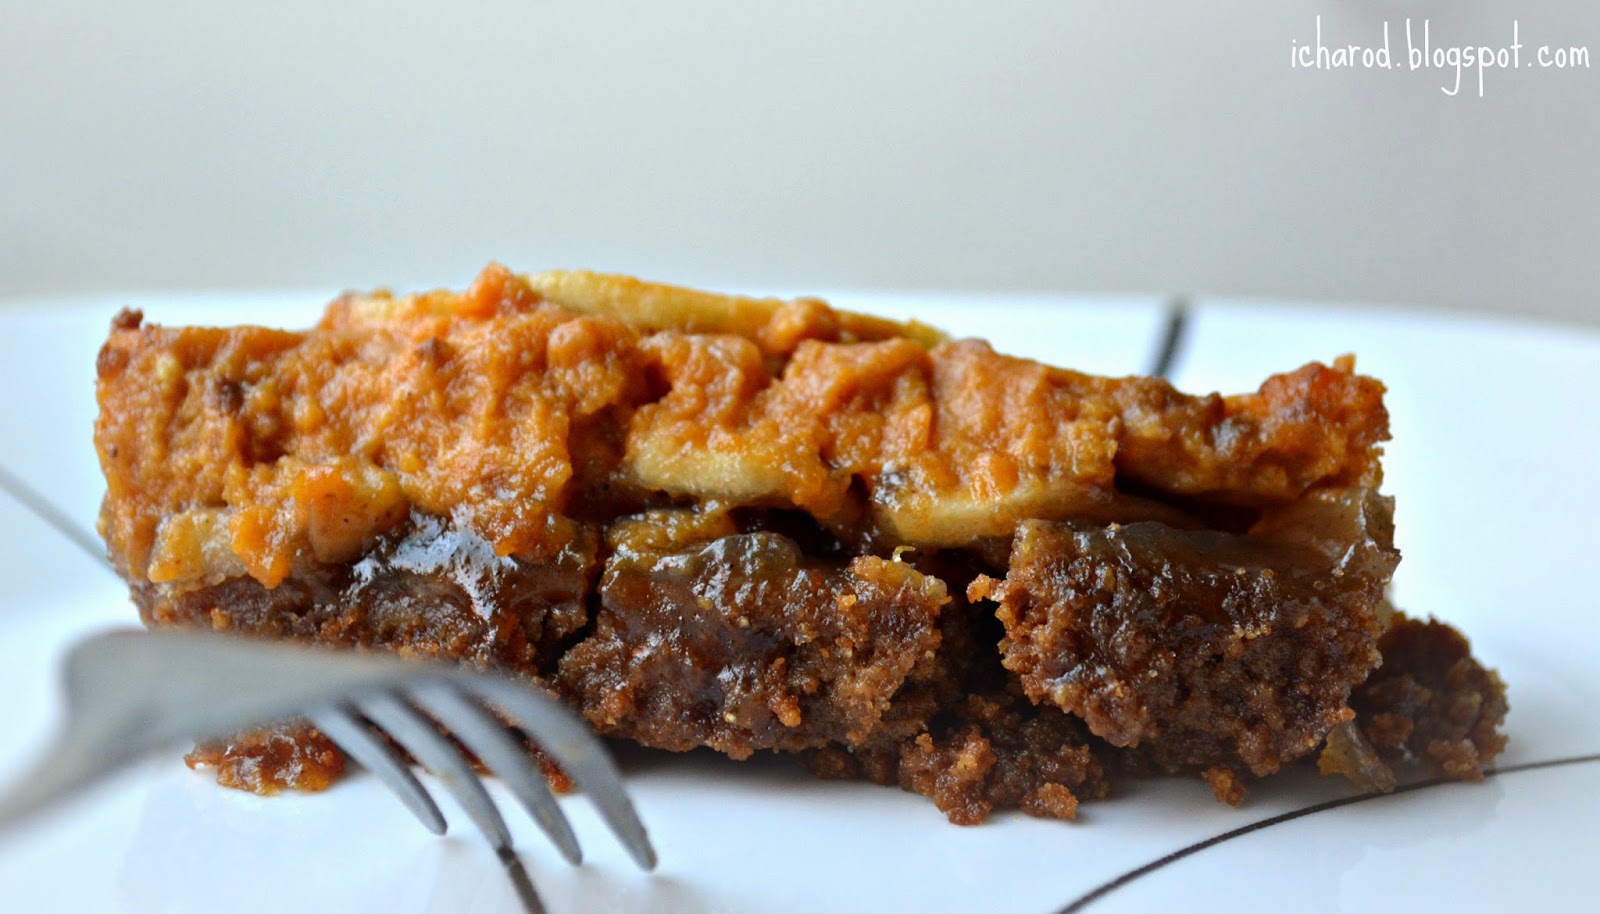
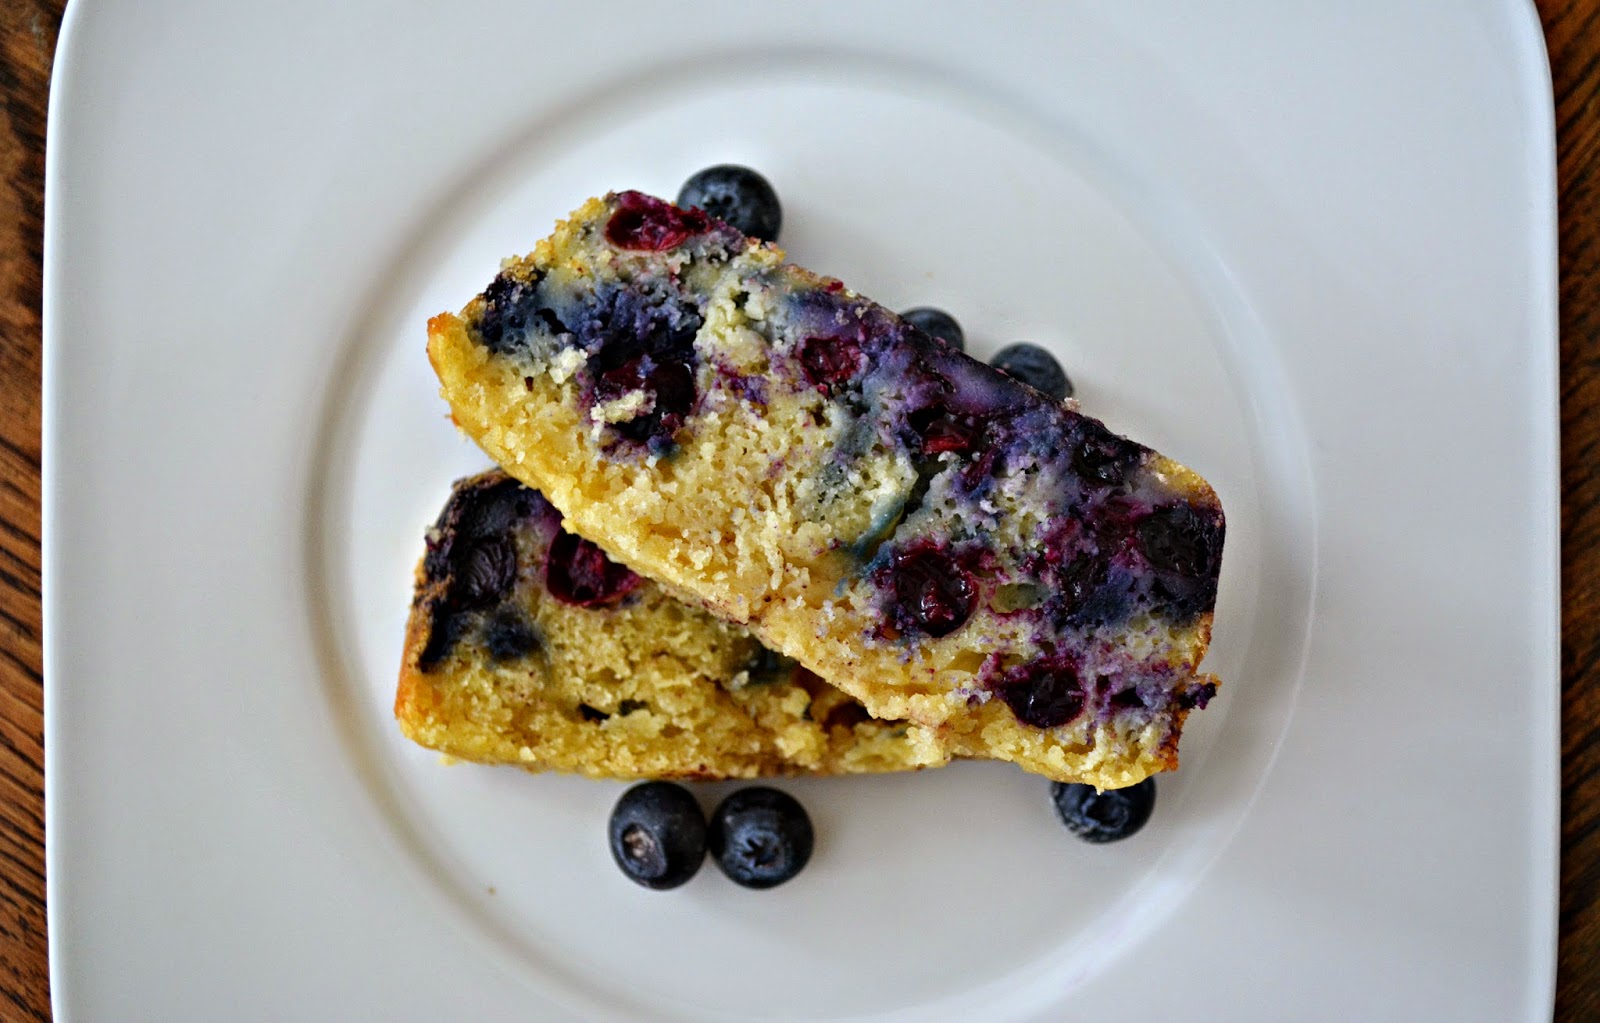
       While home from winter break, I was surprised to see a box in the fridge and was immediately transported back to warmer days. Naturally, my cake-baking senses began tingling, although I did leave all my baking supplies, with the exception of a loaf pan, on campus. (That explain why these most recent blog posts feature loaf-shaped foods - like this chocolate coconut cake.) This blueberry vanilla cake is relatively simple to make, and the berries add flavor and tartness, not to mention beautiful hues of purple. However, I always encounter difficulties with getting berries not to sink in the batter, and on top of that, I kind of over-saturated this cake with berries, which probably didn't help. Whoops. Regardless, the cake is a tasty snack and breakfast. :)

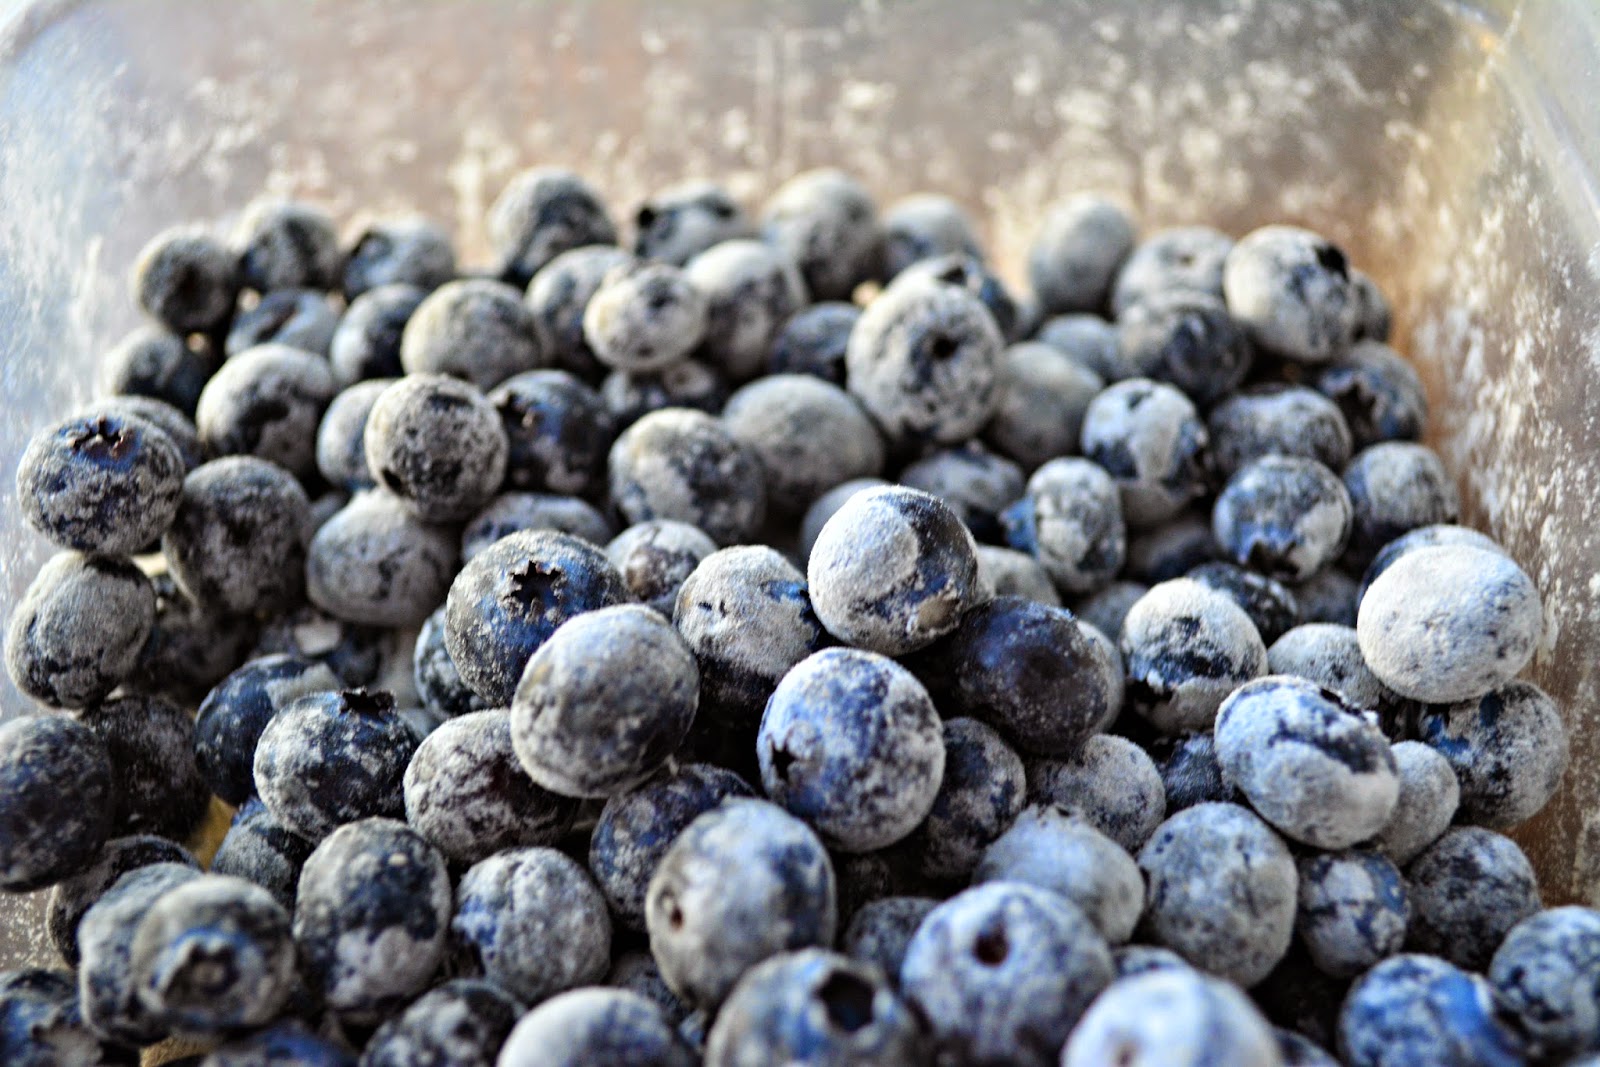
Missing summertime & feeling as blue as these blueberries ;(
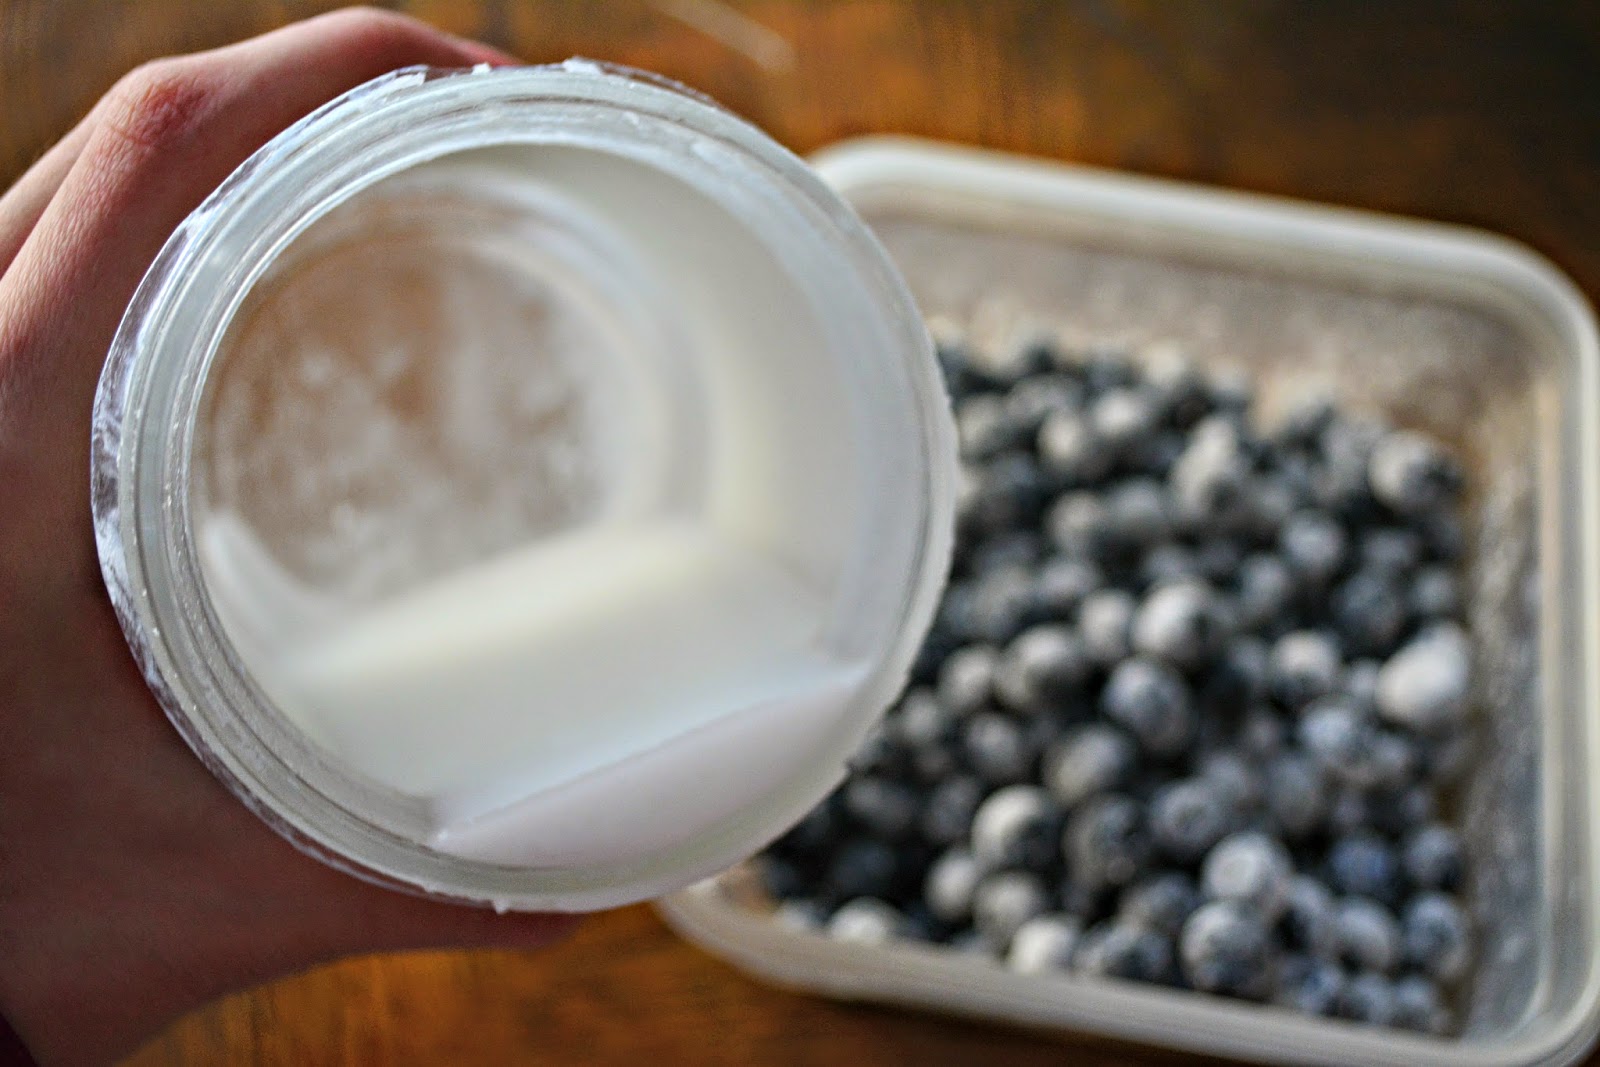
Trying to scoop coconut oil from a solid block is my favorite pasttime.
Challenge #1 Coconut oil has a melting temperature of 76 F - which means, when you're baking in a home where the heating system is forever set to 60 F (I usually wear 3 layers around the house during the winter), your coconut oil will exist as a hopelessly solid mass of stubborn coconut-ness. And even if you carve it out and melt it in the microwave, the moment you pour it into your slightly colder batter, it re-solidifies. Grrrr. And that explains why, as you will see in the recipe below, I added 1/3 cup of warmed water.


Challenge #2 As you can see from the photo above, the blueberries sunk. Despite coating them with flour, the blueberries "capsized", creating a purply-blue, slightly soggy bottom. I have yet to uncover the secret, fool-proof method to achieving perfect blueberry buoyancy & dispersal.

On the bright side, I'm really liking coconut oil and the light, fruity scent it adds to cake. I think it pairs well with and actually enhances vanilla flavors. It's quickly becoming my favorite dairy-free replacement for butter. Baking dairy-free has never been easier!

blueberry vanilla cake [dairy free]
1 + 3 Tbs cup all purpose flour
2 tsp baking powder
1/2 tsp salt
1 tsp cinnamon
1/3 cup white granulated sugar
2 Tbs orange juice, at room temperature
1/2 cup milk (I used almond), at room temperature
1/3 cup coconut oil
1/3 cup water, warmed up
1 egg, at room temperature
1/2 tsp vanilla extract
1 cup blueberries, fresh or frozen
topping
1 1/2 Tbs white granulated sugar

1. Preheat oven to 350 F. In a bowl, beat the egg and sugar together until the sugar is mostly dissolved.
2. Mix in the vanilla extract, orange juice, coconut oil and warmed (not hot) water.
3. In a small bowl, toss the 3 Tbs of flour  with the 3/4 cup of blueberries, making sure to coat the blueberries well.
4. In a separate bowl, mix 1 cup flour, baking powder, salt and cinnamon.
5. Fold the wet and dry mixtures together until well moistened.
6. Fold in the blueberries.
7. Pour batter into a greased pan.
8. Sprinkle 1 1/2 Tbs sugar over the batter surface. Maybe take a fork, toothpick or chopstick and swirl it in a little bit. Have fun with it.
9. Bake at 350 F for 42-45 minutes, or until inserted toothpick/fork/chopstick comes out clean.